
아거 프로젝트에 파일을 저장하는 부분을 고민하다가 S3에 업로드 하여 업로드된 파일의 URL을 DB에 저장을 하기로 회의를 통해서 결정 하게 되었습니다.
S3는 AWS에서 제공을 하는 객체 스토리지 서비스입니다. 쉽게말해서 도라에몽 주머니 처럼 아무거나 다들어가는 만능 주머니 입니다.
그래서 Springboot를 이용하여 AWS S3에 파일 업로드에 대한 포스팅을 해보려고 합니다.
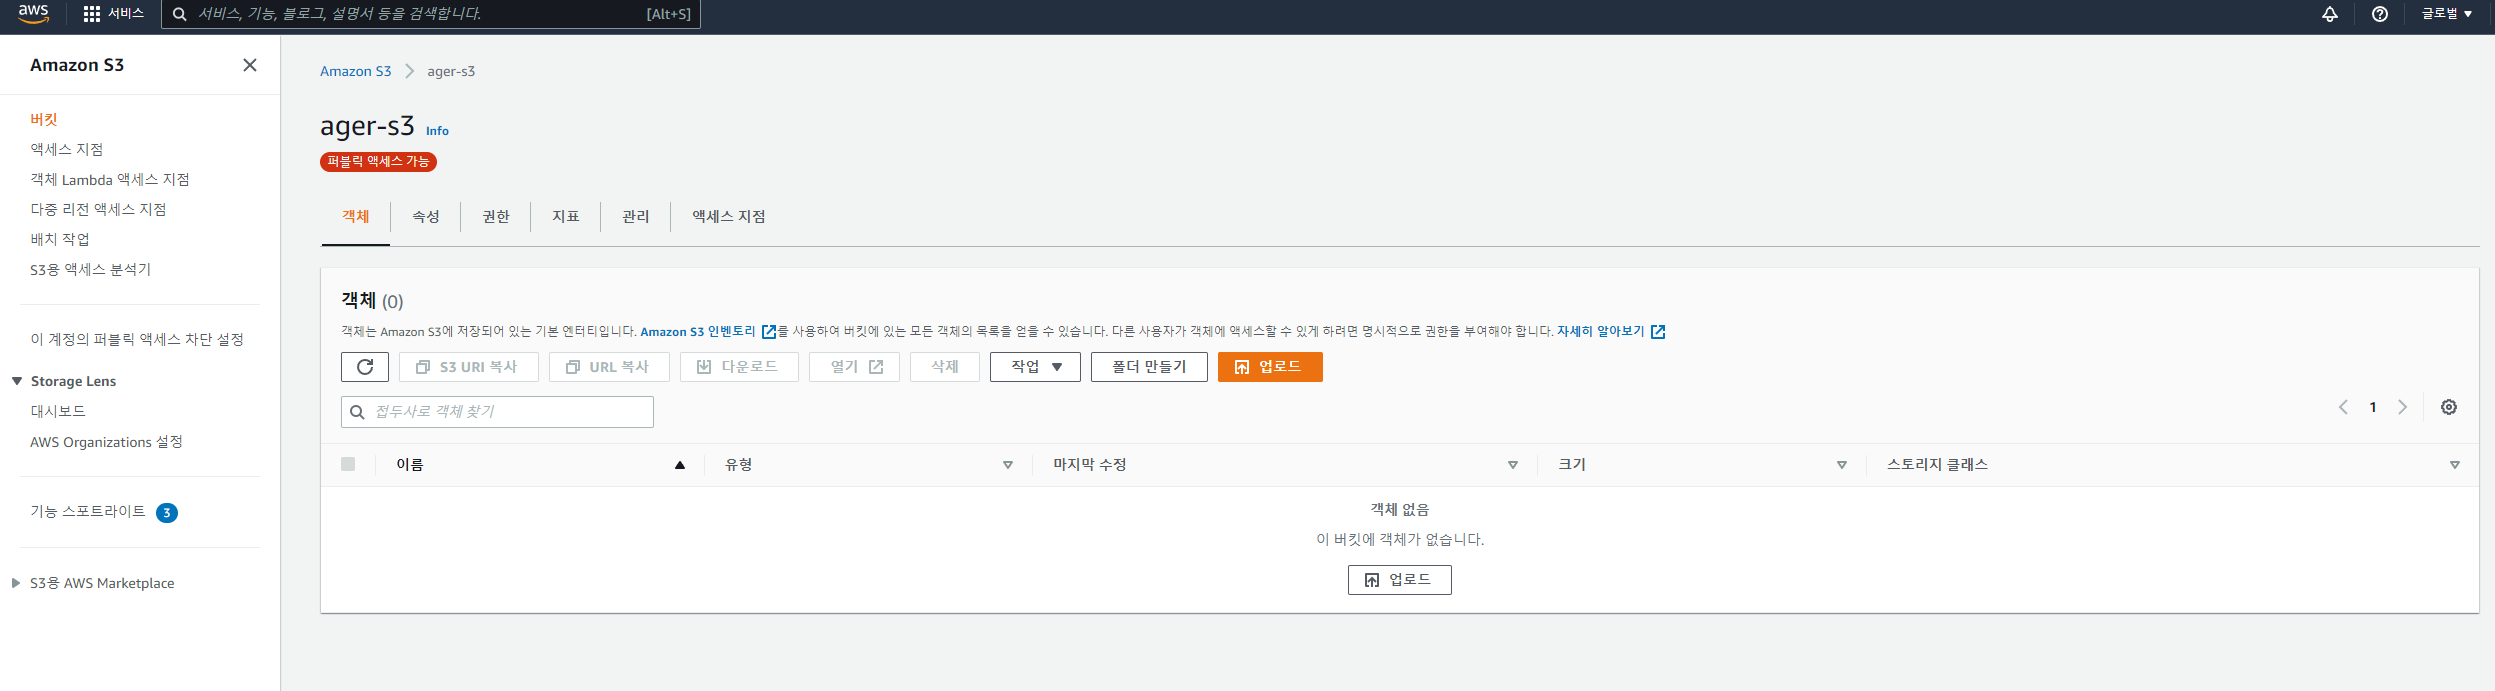
S3버킷 만들기는 다른 블러거분들이 올린 좋은 글들을 참고해서 만들어 주시면 될것같습니다.
버킷을 만들고 IAM키를 만들었다는 가정하게 진행을 하겠습니다.
S3에 아무파일이나 올리면 안되기때문에 이미지만 올리게 s3의 권한정책을 변경해보겠습니다. 아거에서는"png","jpg","jpeg"만 업로드 하게 설정하였습니다.
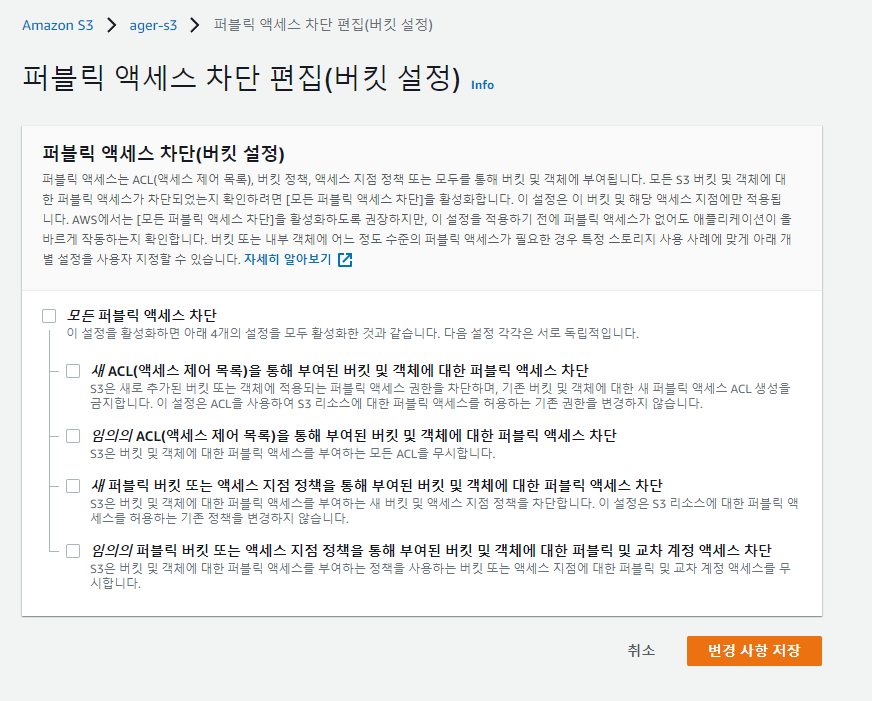
버킷 정책을 편집을 눌러서 코드를 입력해줍니다.
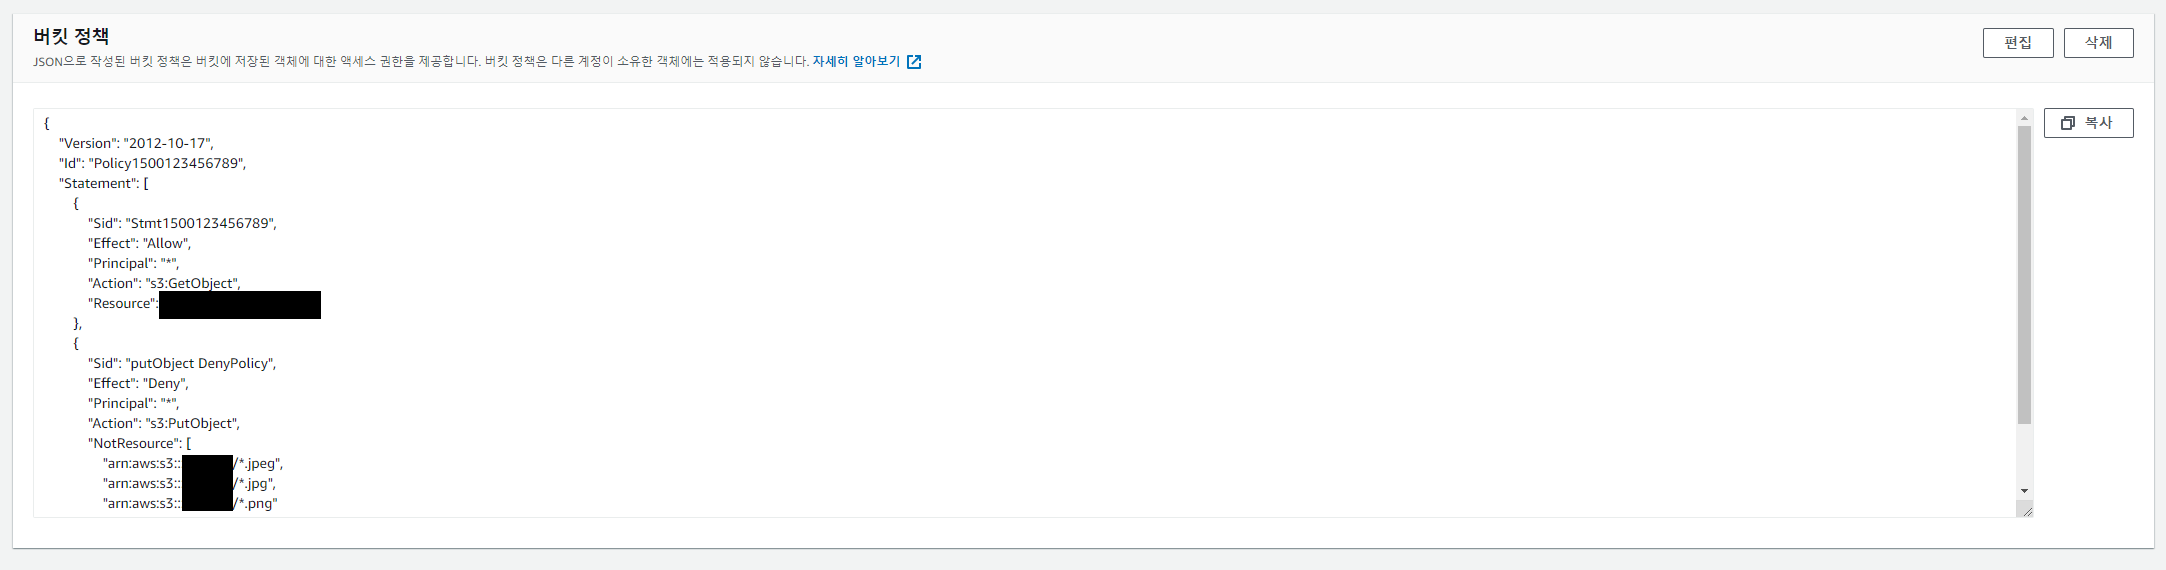
코드
{
	"Version": "2012-10-17",
	"Id": "Policy1500123456789",
	"Statement": [
		{
			"Sid": "Stmt1500123456789",
			"Effect": "Allow",
			"Principal": "*",
			"Action": "s3:GetObject",
			"Resource": "arn:aws:s3:::[버킷이름]/*"
		},
		{
			"Sid": "putObject DenyPolicy",
			"Effect": "Deny",
			"Principal": "*",
			"Action": "s3:PutObject",
			"NotResource": [
				"arn:aws:s3:::[버킷이름]/*.jpeg",
				"arn:aws:s3:::[버킷이름]/*.jpg",
				"arn:aws:s3:::[버킷이름]/*.png"
			]
		}
	]
}
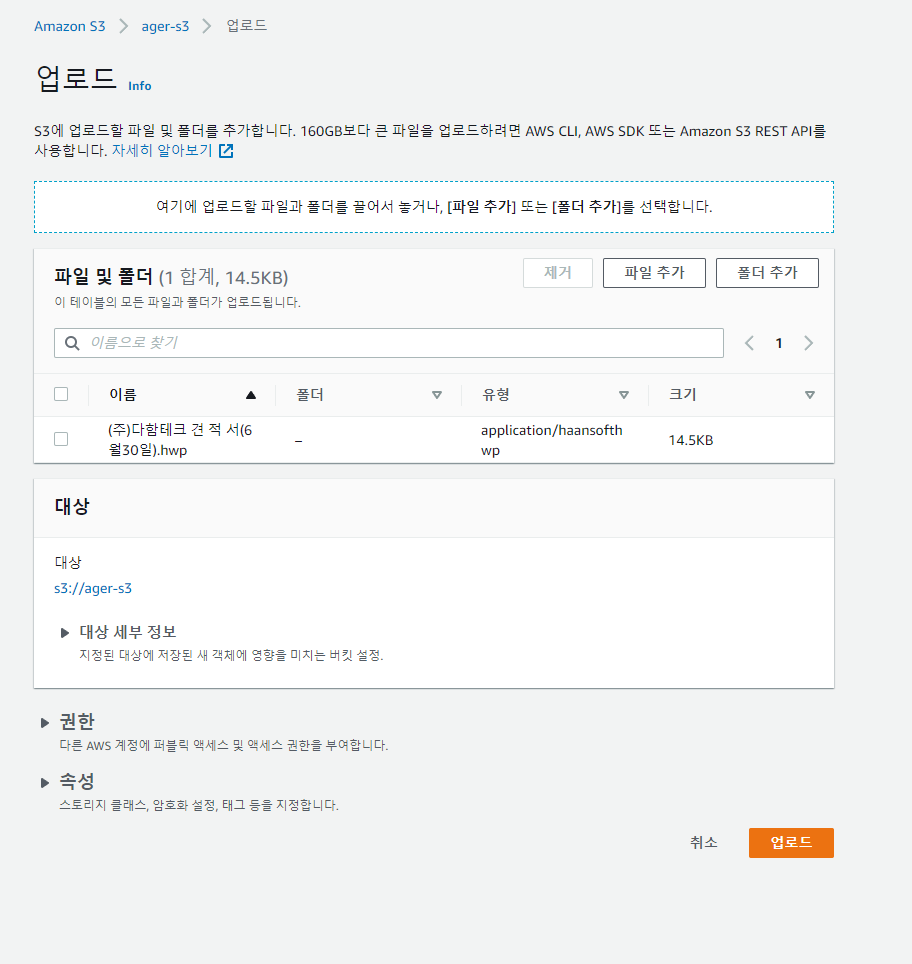
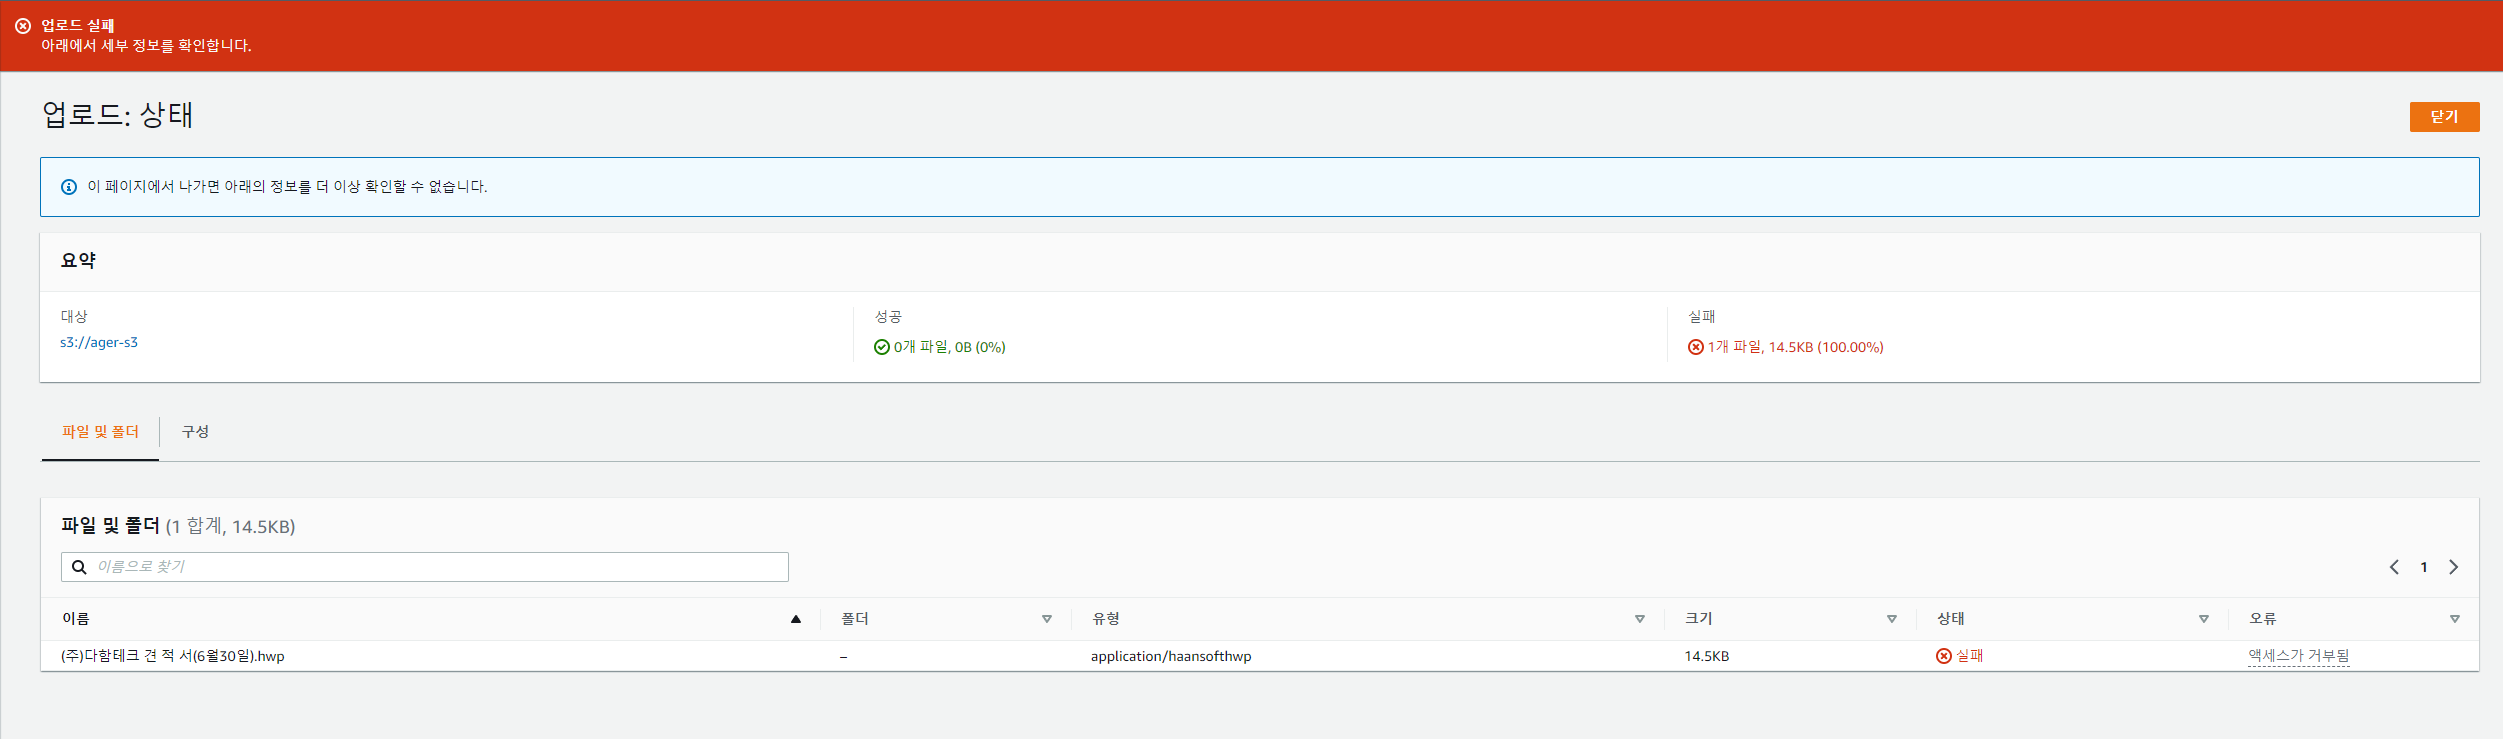
설정을 완료하고 테스트를 해보면 다음과 같은 업로드 실패 페이지를 보실수 있습니다.
이제 spring에서 파일 업로드 기능을 구현해 보겠습니다. 추가로 권한편집에서 지정한 확장자외에 다른 파일이 들어오면 에러응답코드를 반환해주는 기능도 있습니다.
build.grable
dependencies에서 aws s3 의존성을 추가해줍니다.
// AWS 의존성 추가
	// https://mvnrepository.com/artifact/org.springframework.cloud/spring-cloud-starter-aws
	implementation group: 'org.springframework.cloud', name: 'spring-cloud-starter-aws', version: '2.2.1.RELEASE'
	// https://mvnrepository.com/artifact/org.springframework.cloud/spring-cloud-aws-context
	implementation group: 'org.springframework.cloud', name: 'spring-cloud-aws-context', version: '2.2.1.RELEASE'
	// https://mvnrepository.com/artifact/org.springframework.cloud/spring-cloud-aws-autoconfigure
	implementation group: 'org.springframework.cloud', name: 'spring-cloud-aws-autoconfigure', version: '2.2.1.RELEASE'
application.yaml 파일에 설정 값을 넣어줍니다.
cloud:
  aws:
    s3:
      bucket:
        name: ager-s3
        url: https://[버킷name].s3.ap-northeast-2.amazonaws.com/
    credentials:
      accessKey: [Iam AccessKey]
      secretKey: [Iam SecretKey]
 @Value("${cloud.aws.s3.bucket.url}")
    private String defaultUrl;

  @Value("${cloud.aws.s3.bucket.name}")
    private String bucket;

 private final AmazonS3Client amazonS3Client;

 public List<String> uploadImages(List<MultipartFile> uploadFiles) {
        /*
            @Method: uploadImages
            @Author: potter,frank
            @Param: uploadFiles
            @content: 이미지 파일들을 s3에 업로드하고 url을 return
        */
        List<String> uploadUrl = new ArrayList<>();


        for (MultipartFile uploadFile : uploadFiles) {
            String origName = uploadFile.getOriginalFilename();
            String url;
            try {
                // 확장자를 찾기 위한 코드
                final String ext = origName.substring(origName.lastIndexOf('.'));
                // 파일이름 암호화
                final String saveFileName = getUuid() + ext;
                File file = new File(System.getProperty("user.dir") + saveFileName);
                uploadFile.transferTo(file);
                uploadOnS3(saveFileName, file);
                url = defaultUrl + saveFileName;
                file.delete();
                uploadUrl.add(url);
            } catch (StringIndexOutOfBoundsException | IOException e) {
                   url=null;
            }
        }
        return uploadUrl;
    }

    private static String getUuid() {
        return UUID.randomUUID().toString().replaceAll("-", "");
    }

    private void uploadOnS3(final String findName, final File file) {
        final TransferManager transferManager = new TransferManager(this.amazonS3Client);
        final PutObjectRequest request = new PutObjectRequest(bucket, findName, file);
        final Upload upload = transferManager.upload(request);
        try {
            upload.waitForCompletion();
        } catch (AmazonClientException | InterruptedException amazonClientException) {
            log.info("getCause : {}",amazonClientException.getCause());
            throw new InvaildFileExtensionException();
        }
    }
프론트에서 List<MultipartFile> uploadFiles이 들어오면 확장자를 제외한 파일이름을 암호화(중복 파일없게끔)를 해줍니다.
확장자가 다를떄 오류처리는
 try {
            upload.waitForCompletion();
        } catch (AmazonClientException | InterruptedException amazonClientException) {
            log.info("getCause : {}",amazonClientException.getCause());
            throw new InvaildFileExtensionException();
        }
amazonClientException에서 403?인가 오류코드를 내보내줍니다. 그걸 받고 커스텀한 에러응답메세지함수(InvaildFileExtensionException()) 를 실행하게 됩니다.
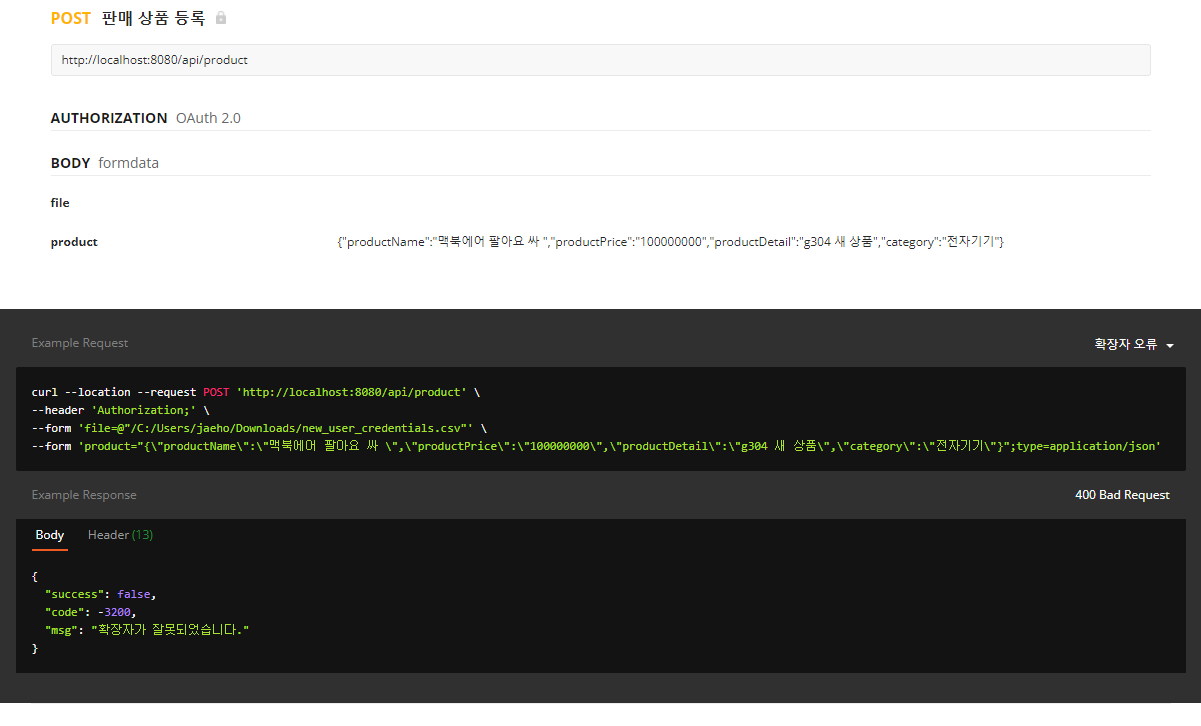
업로드 파일에 .csv파일 업로드후 postman결과
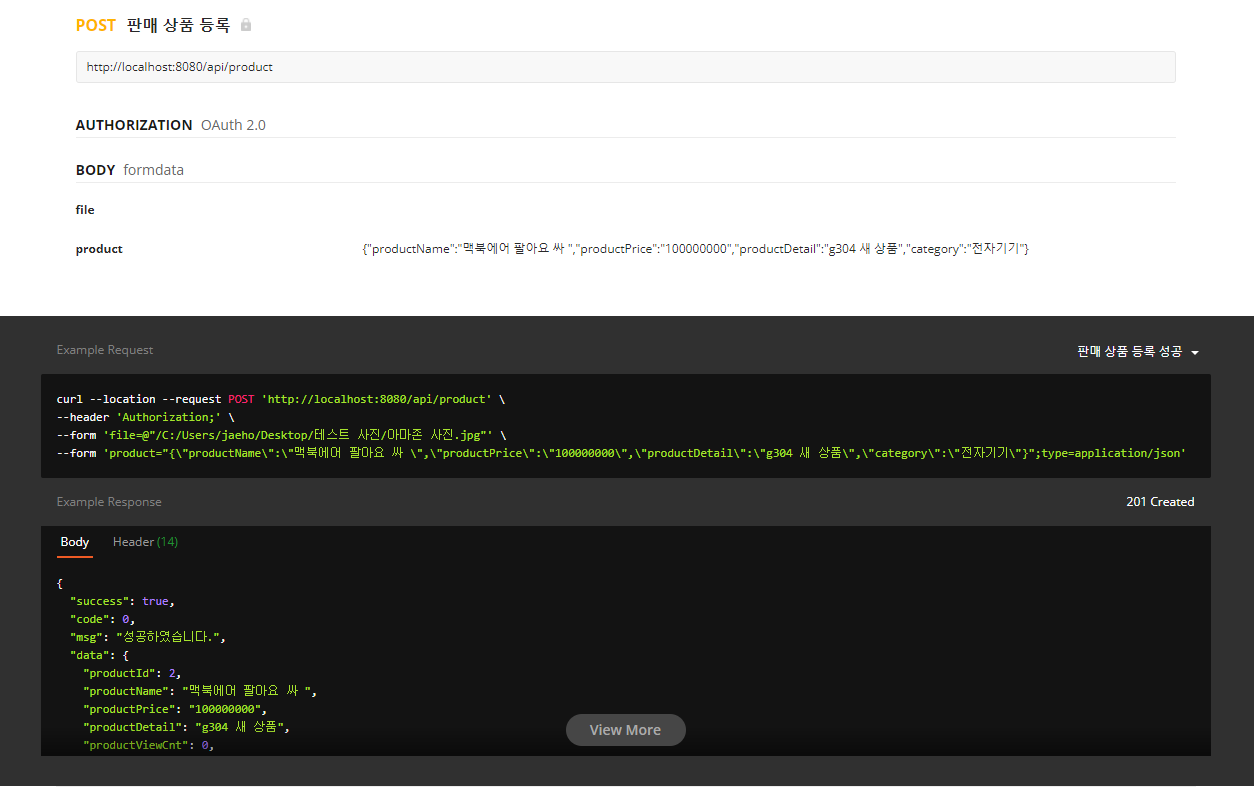
정상적인 업로드 성공시
다음에 응답코드 통일시키는 과정관 에러응답처리에 대해서 포스팅을 하겠습니다.
'Spring Boot > A-ger프로젝트 탄생의비화' 카테고리의 다른 글
| [spring] MultipartFile을 Bufferimage로 받아서 S3에 업로드하기 (0) | 2022.03.03 |
|---|---|
| 보고도 믿지못한 카카오 API호출 4만6천번.. (0) | 2022.01.18 |
| 상품 조회 중에 만난 N+1문제 (0) | 2022.01.18 |
| spring-boot 프론트엔드와 무한 스크롤 구현 하기[ep.2] (0) | 2022.01.17 |
| spring-boot 프론트엔드와 무한 스크롤 구현 하기[ep.1] (0) | 2022.01.17 |